In Star Trek, the replicator is a device that reconstitutes matter in forms unlike its original; this allows the user to create and use some 3D object in a seconds. This technology will be invented in the 24th century, so the goal of this senior design project was to lay the ground work for creating a volumetric 3D printer inspired by the replicator.
Project Links
Previous Technology
The basis of this project is built around the kinetics of photosensitive resin hardening using UV light. Standard printers that use UV curable resin take 2d slices of an object, and harden the resin layers at a time, pictured below. The difference with volumetric printers is the construction of the 3d object all at once. By controlling the amount of light and energy passed into a UV resin vat, any arbitrary 3D volume can be constructed. Below the theoretical image projection of a volumetric printer is pictured.
 |
 |
One recurring issue throughout the project was the amount of, or lack thereof, groups working on developing this technology. From our market research, our team was able to find less than 10 groups actively working on volumetric printers. While the amount of people working on the problem is sparse, the work done is very impressive. Using these sources was a large crutch in our project.
My Contributions
My contributions to the project lied mostly in the programming side of the project. Being that this project was only confined to Mechanical Engineering majors, and the lack of computer science classes taken by a standard Mech. Eng. student, there was a lack of programming knowledge for this team. While I have a considerable amount of programming, this was a very hard problem to solve. With no previous experience working with image processing, I was tasked with constructing the projection algorithms used for the printer, and programming the control for the mechatronic components on the printer.
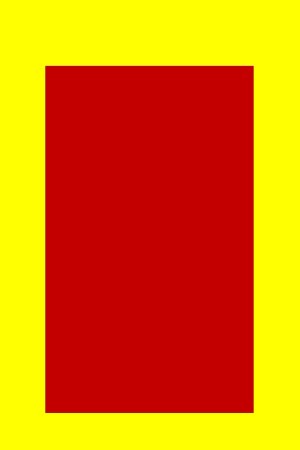
Using pyglet, an OpenGL wrapper for python, I wrote a functional projection program used for the printer. The basic idea for creating the projection algorithm is controlling the images projected in a rotating resin vat. To simplify the problem, objects of only rotational symmetry was chosen to print. A rotationally symmetric object is considered as an object that has the same side profile in at least two frame projections, which simplifies the projection algorithm. Below is an example of what the types of images projected onto the resin. With these images, the resulting built volume is a cylinder.
| Deactivated Resin Image | Activated Resin Image |
|---|---|
 |
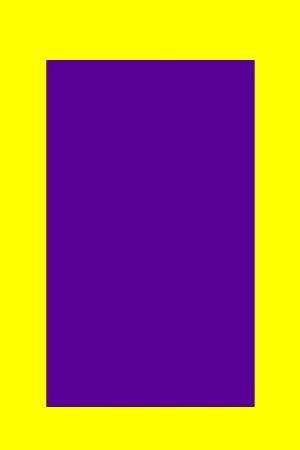 |
UV resin hardens based on the wavelength of light that interacts with the resin. Therefore, only certain colors will harden the resin while others won’t. For most resin used by SLA printers, light at wavelength 405 nm, or purple, will activate resin and start the hardening process. Wavelength much higher than that such as yellow at ~600 nm won’t harden the resin. Check out some of the printed parts below! For the image example, a rectangle projected onto the resin results in a cylinder.

This image projetion was built on the pyglet, and was chosen for a few reasons. Firstly, Python was chosen to speed up development time as the coding experience in the team was very limited, and Python allowed for easily jumping into any of the work if programming experience was low. Once Python was chosen two imaging frameworks were considered: pygame, and pyglet. I had some experience using pygame when I made pycross, however, using it made me realize some of its limitiations. Mainly, pygame is geared more towards game development, while pyglet is more general as a windowing library. As well, some of our first design iterations, which can be viewed in the section below, show some of our first plans for the printer. As you can see, our first designs utlized two printers at once, which required two windows, something that pygame did not have native in library, while pyglet did. As an added bonus, pyglet was actually easier to get up and running for our simple algorithm compared to pygame.
Printer Design Iterations
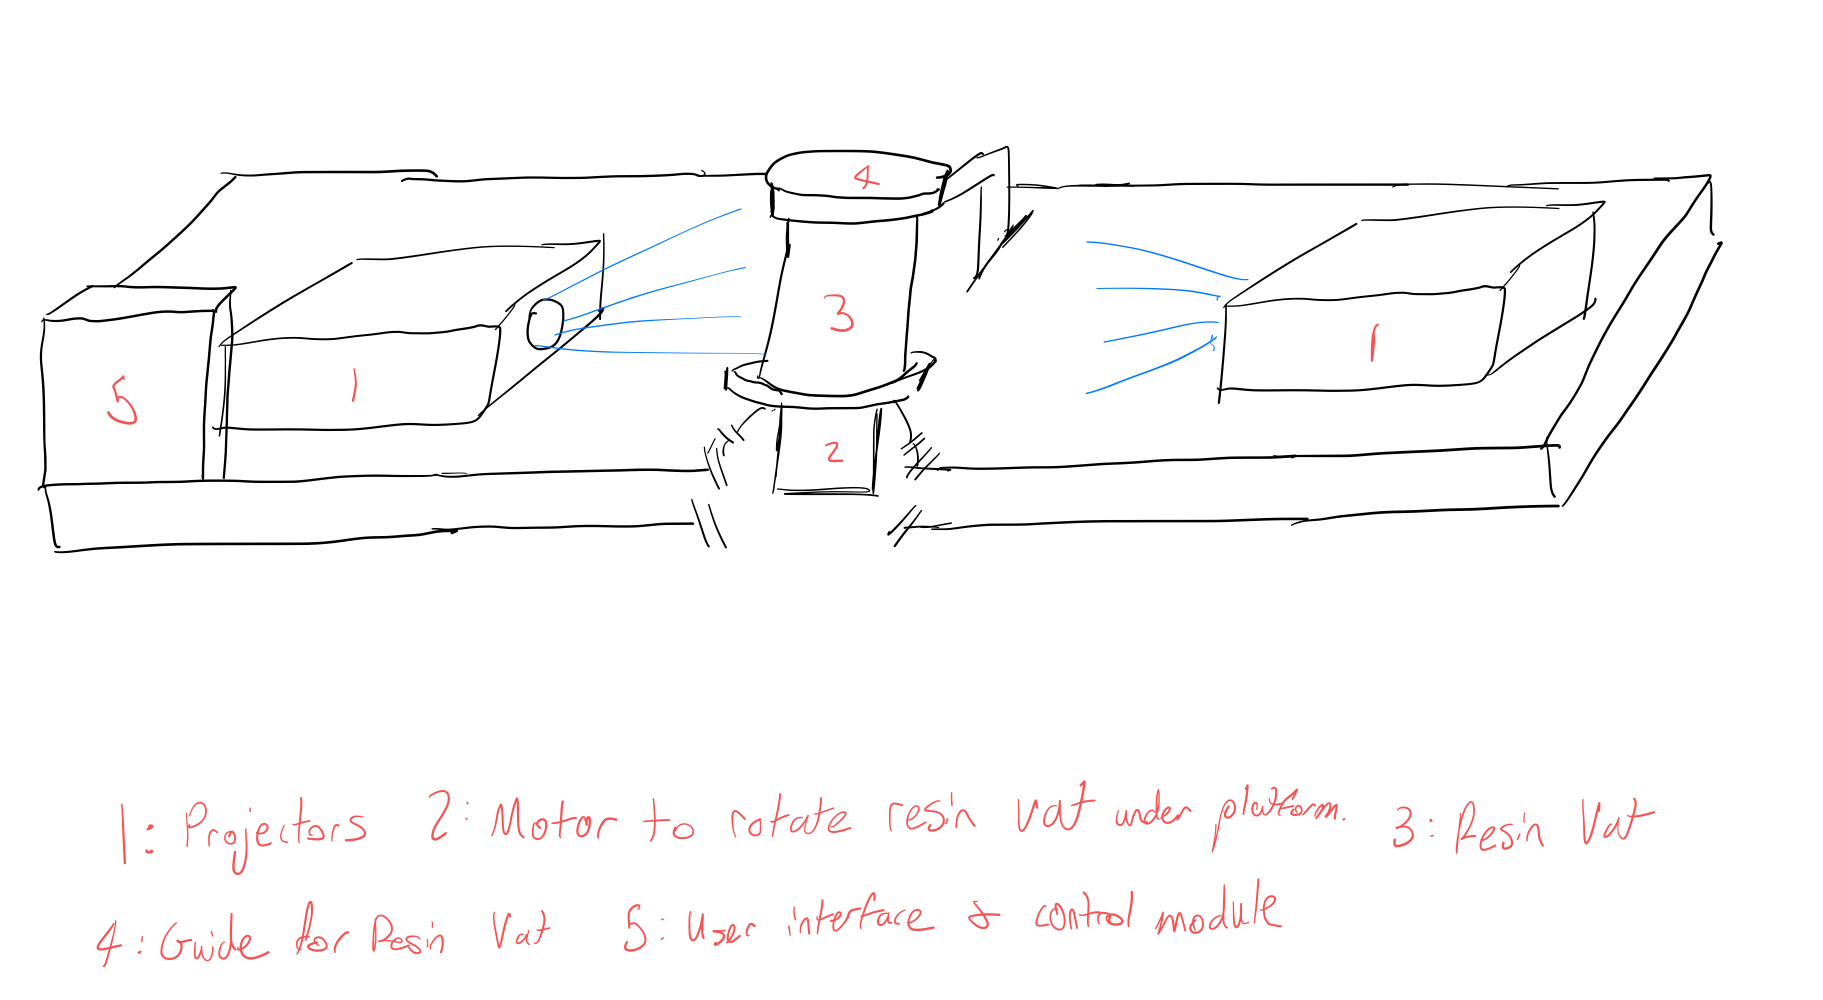
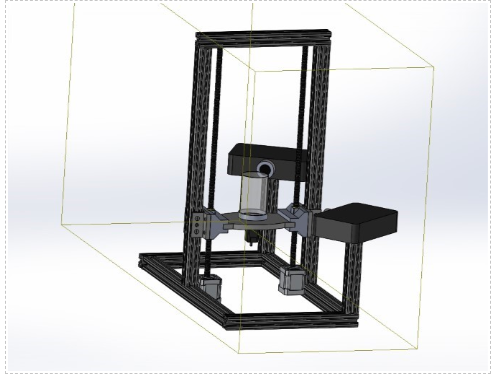
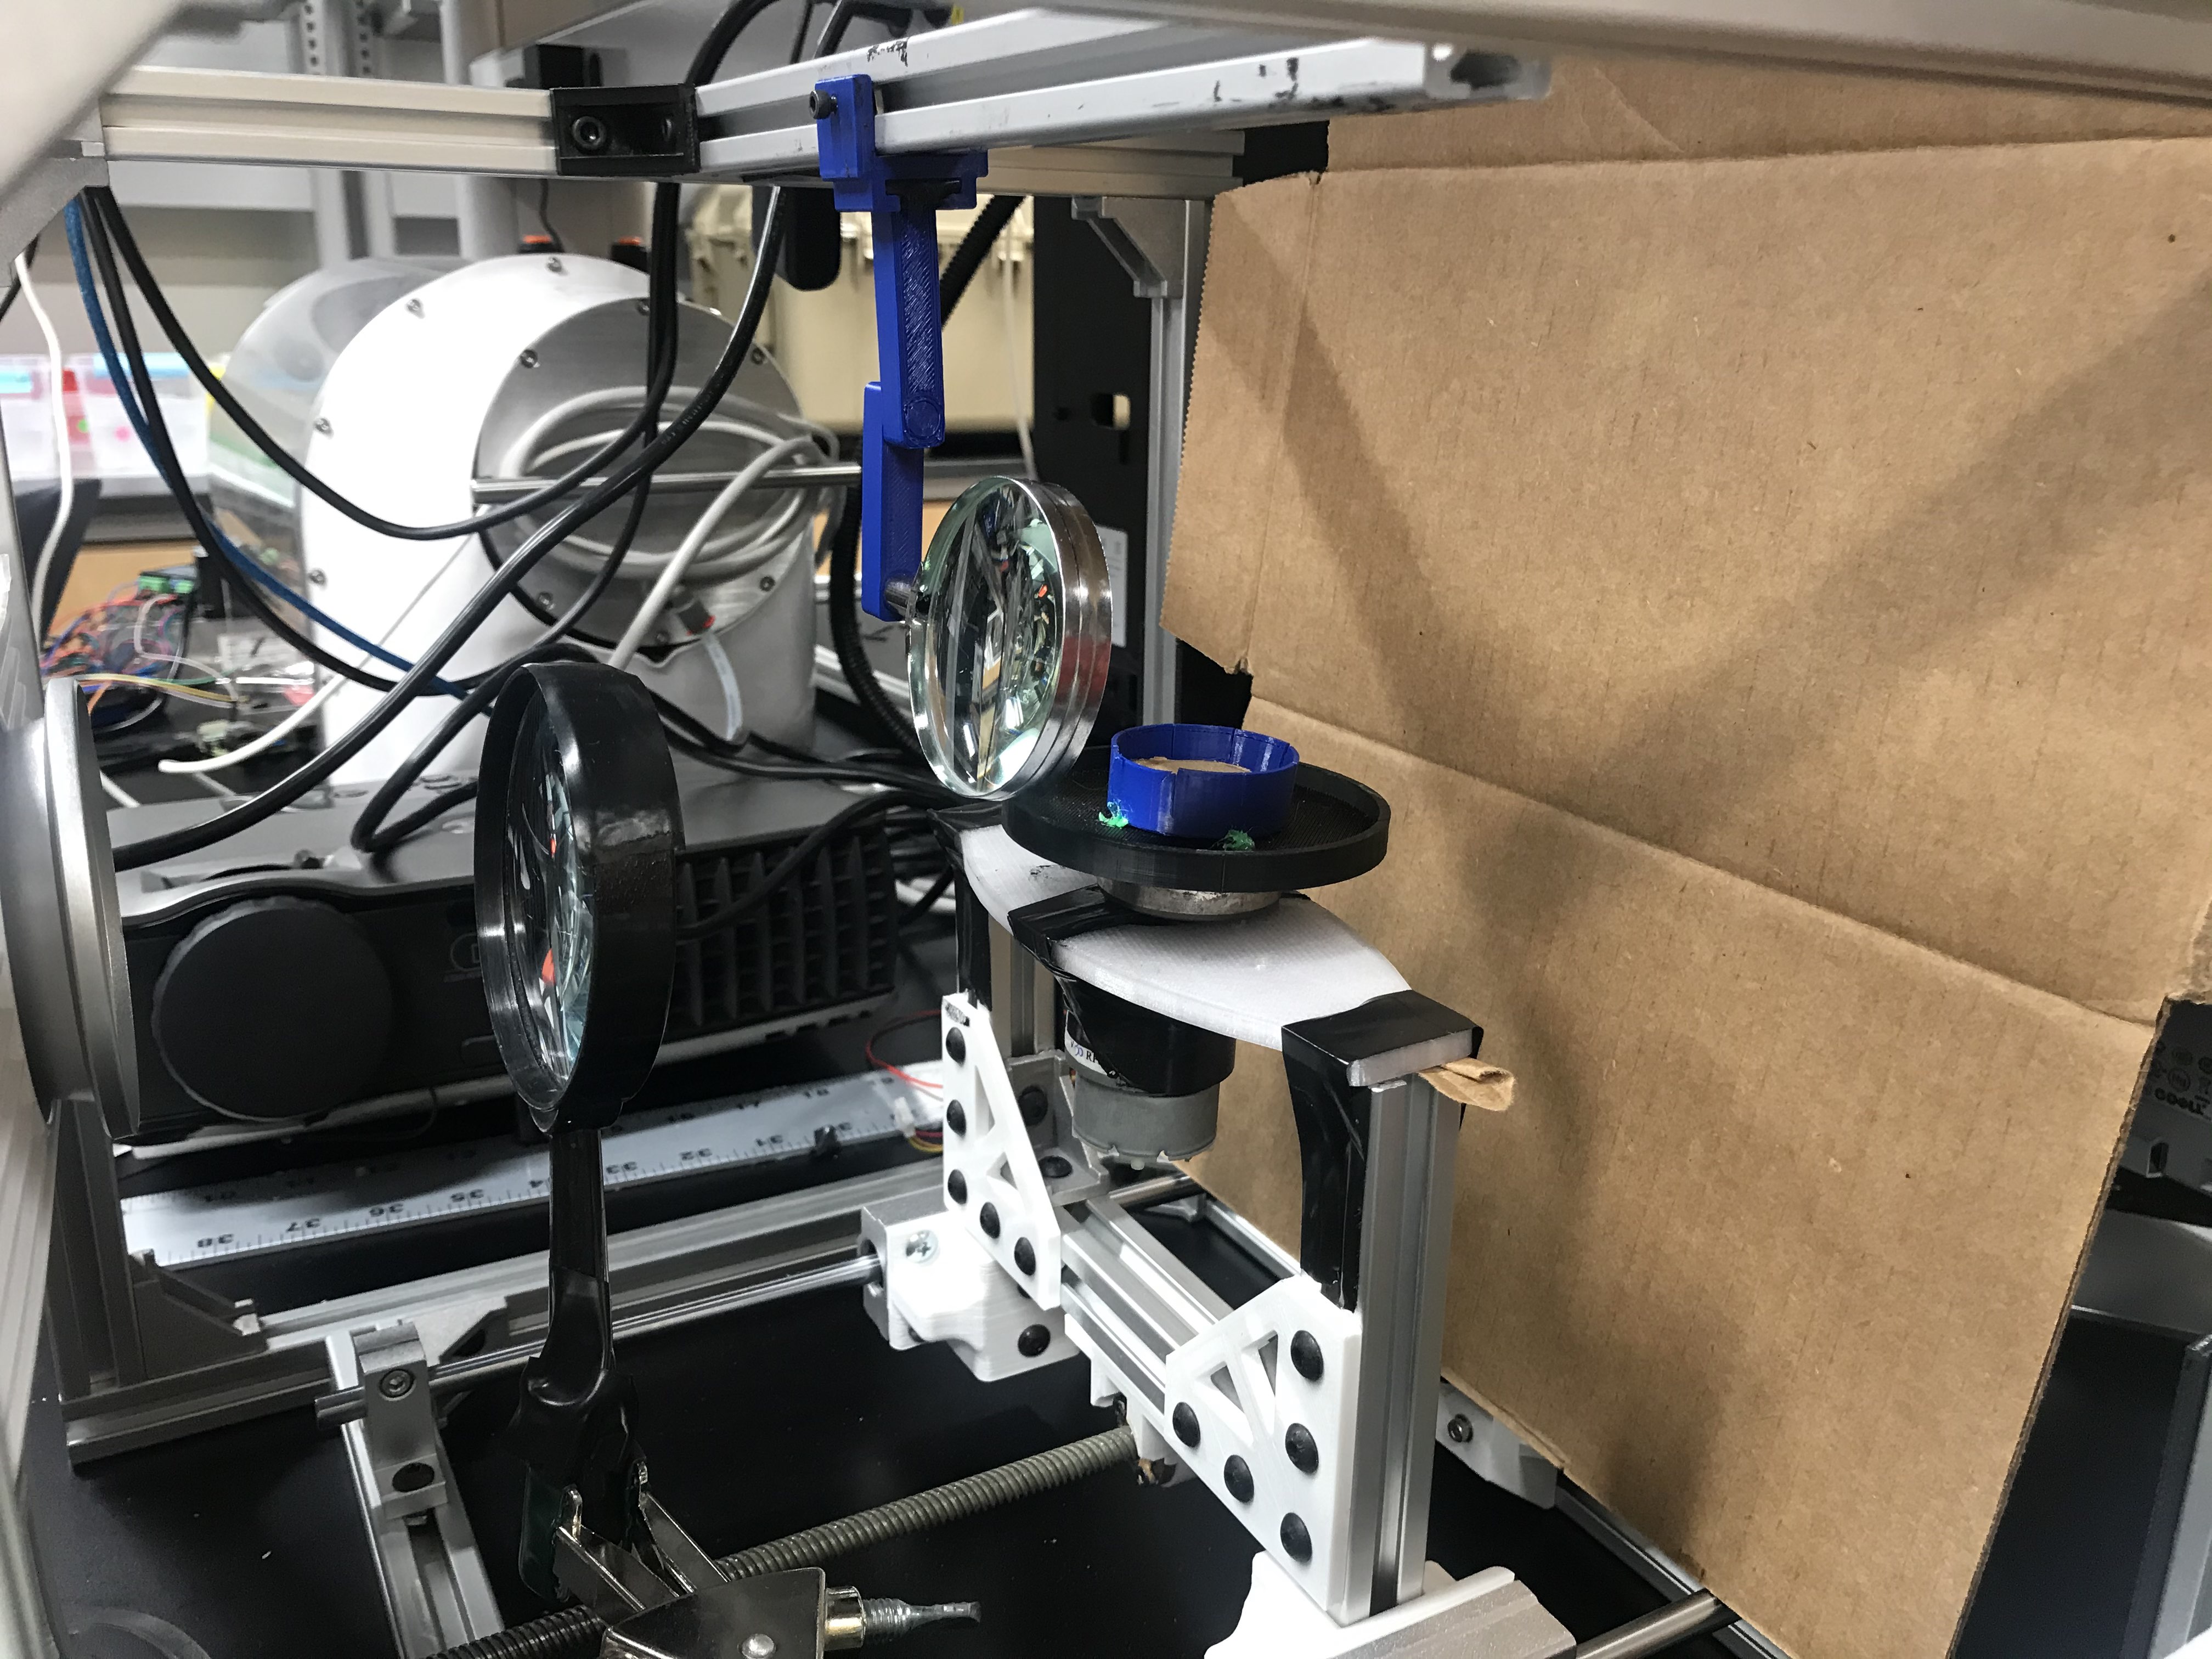
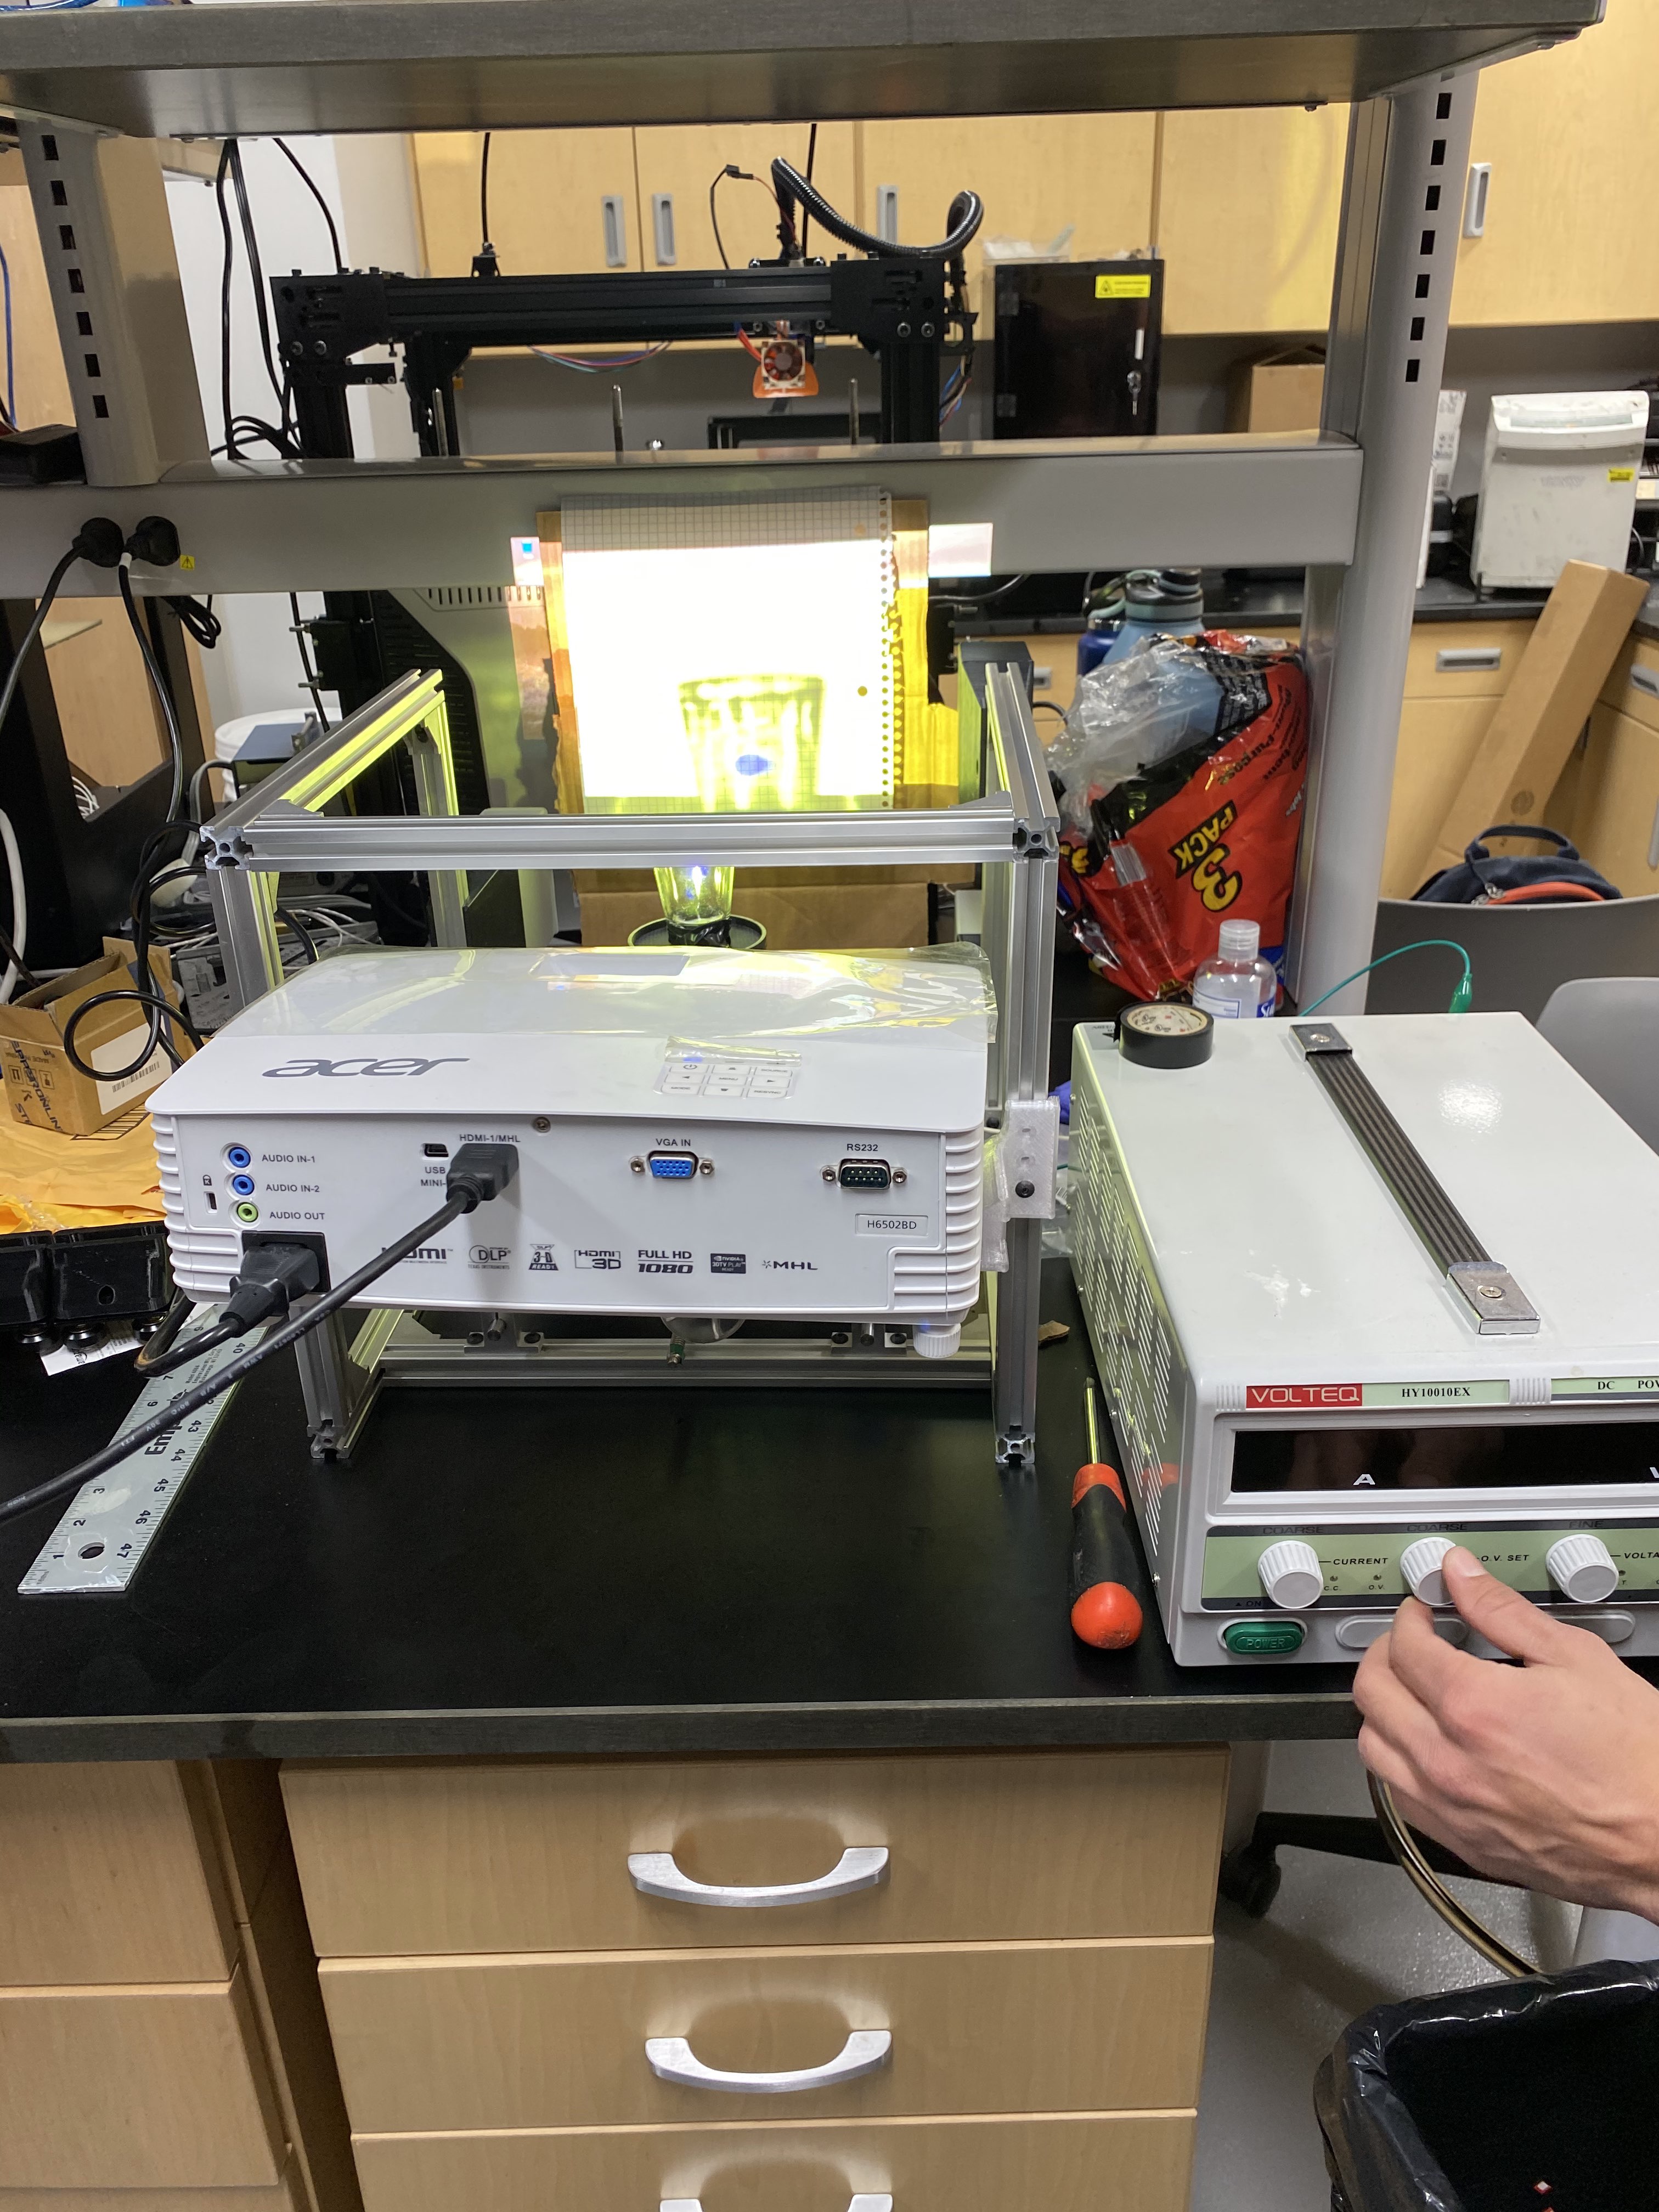

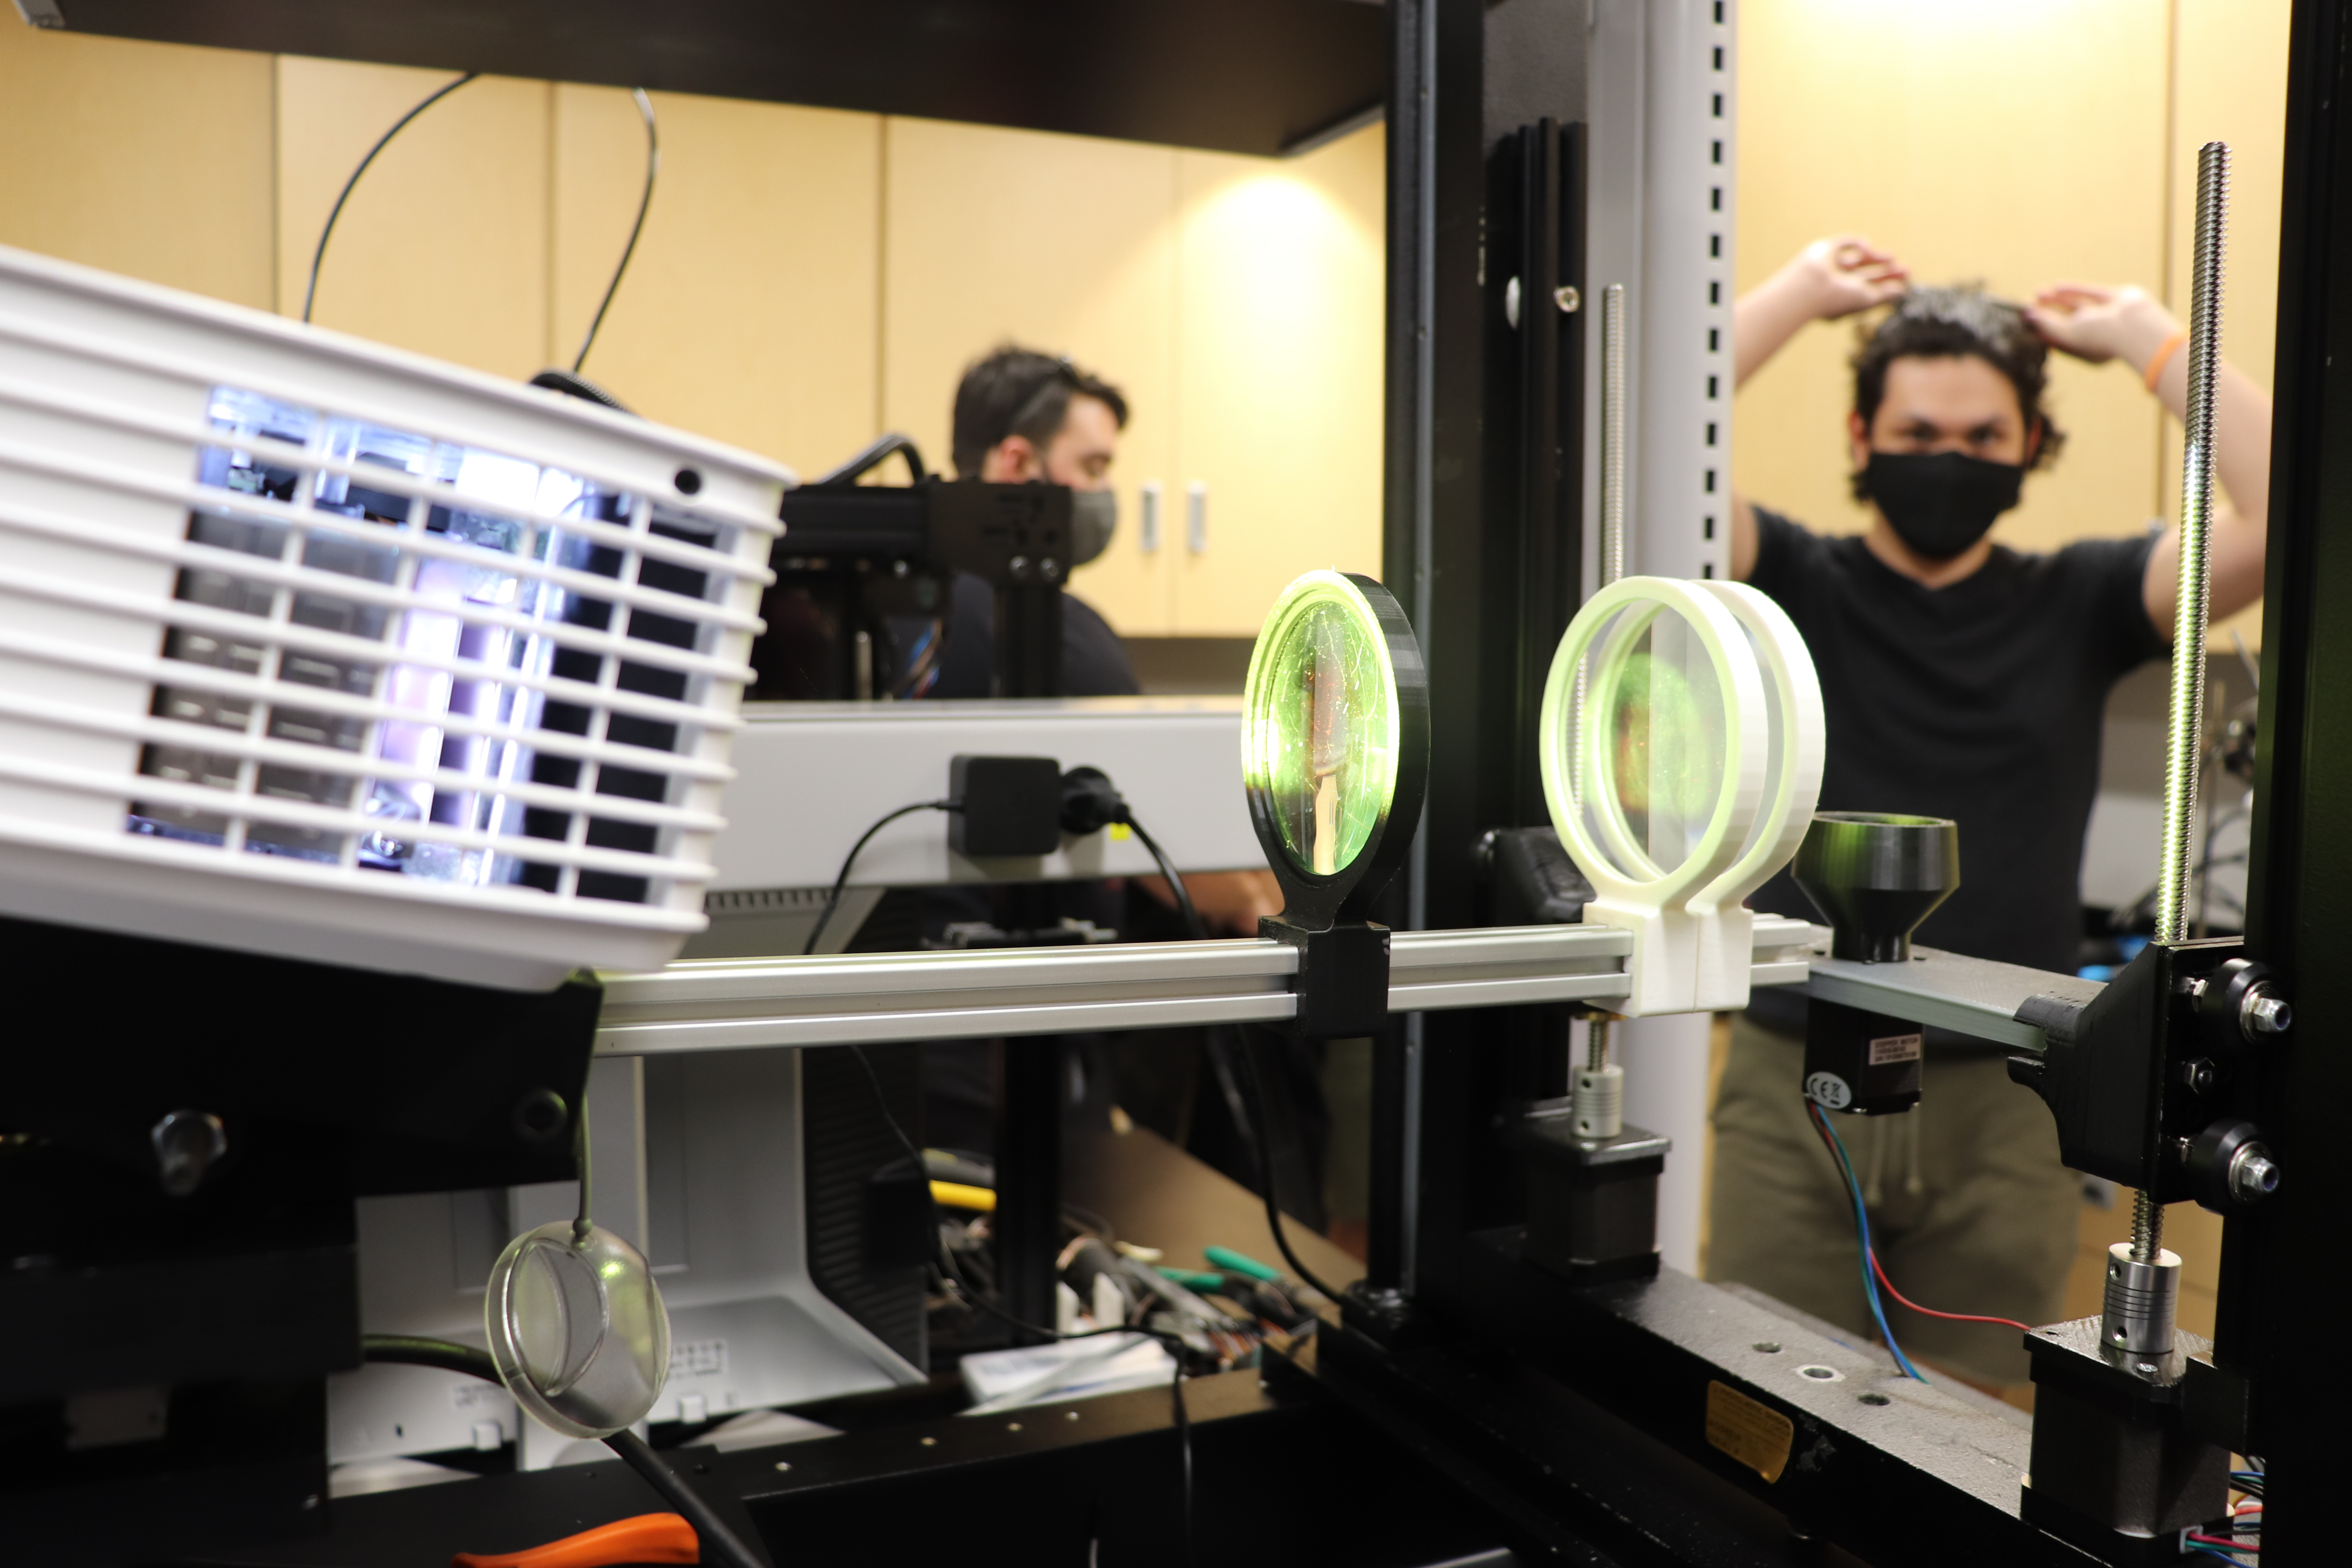
Results
Keeping in line with the example for printing a cylinder, one of the biggest advantages for using a volumteric printer compared to a standard FDM printer are the print times and print accuracy. In our prototype, volumetric prints were constrained to 100% infill due to the aforementioned simplistic projection algorithm. Comparing the print times of the volumetric printer to my Creality CR-10 V2, the chart below shows the difference between printing two similar sized cylinders with 100% infill.
Time to Print
| FDM Print | Volumetric Print |
|---|---|
| ~ 20 min | ~ 2 min |
Another major advantage with our printer is the print accuracy of any part. Print accuracy is the manufacturing tolerance inherient to the printer, and is variable in FDM printers based on plastic warping or nozzle size. For our printer, we calculated the the printer accuracy and compared it to standard FDM printers and SLA printers(which we utilize resin usually for these printer).
Theoretical Print Accuracy of Printers
| FDM Printers | SLA Printers | Our Printer |
|---|---|---|
| ~ ± 0.2 mm | ~ ± 0.01 mm | ~ ± 0.036 mm |
While our printer does not reach the same accuracy as standard SLA printers, our volumetric printer still beats out FDM printers in these metrics.
Reflections
My time on this project has been some of my favorite engineering work I’ve ever done; even if I lacked experience in optics going into the project. However, this project allowed me to learn so much about optics, resin printing, and programming practices. These areas brought the most challenge as the entire team had to learn about optics, lenses, and resin printing from next to no experience. As for the programming challenges, I had to face a lot of difficulty in working with parallel threads and OpenGL graphics. The challenge level was on the higher end of the spectrum, especially because the knowledge we needed for this project was barely in any of the Mechanical Engineering curriculum. I am slightly disappointed that I could not finish a real STL slicing projection algorithm, but my inexperience working with computer graphics held back that front. However, the frameworks and functions that I built for printing now lays a good foundation for continuing the work and building a real STL slicing projection algorithm on top of it.
.jpg)
